

Your front walk gets dark at night. I’ve tripped on my own garden pathway lights more times than I’ll admit. Here’s the deal: you don’t need expensive wiring or a permit to fix that. Solar pathway lights are cheap and easy to install. Even in Broken Arrow’s crazy weather—hot summers, ice storms—they work fine. I’ve helped neighbors in Florida set these up too. Tampa folks love them for humid nights. Orlando yards shine with LED pathway lights everywhere. You just need a few hours and a shovel. This guide walks you through every step. No electrician needed for solar. But if you want low voltage lighting installation instead, I’ll tell you when to call a pro. Let’s get your yard lit up.
Why Solar Pathway Lights Make Sense for Most Homeowners
Solar pathway lights run on free sunshine. No outdoor lighting wiring required. That’s huge for DIYers. You don’t bury cable or mess with a lighting transformer installation. I’ve seen wired systems fail in Florida’s sandy soil—corrosion eats connections fast. Solar avoids all that. They’re also safer. No shock risk for kids or pets. And if you move? Take them with you. The best solar pathway lights today last 8–10 hours per charge. That’s plenty for Broken Arrow evenings. Just stick them in the ground and go.

What You’ll Need Before Starting
Grab these items from any hardware store:
- Solar pathway lights (buy one extra as a spare)
- Garden trowel or small shovel
- Rubber mallet (optional, for hard soil)
- Spray paint or flags for marking spots
- Level (a phone app works too)
That’s it. No voltage requirements to calculate. No bury electrical cable headaches. I’ve seen folks in Florida buy expensive low voltage kits they never install. Don’t be that person. Solar pathway light installation takes basic tools only. For a typical Broken Arrow front yard, plan on 6–12 lights. Measure your walkway length first.
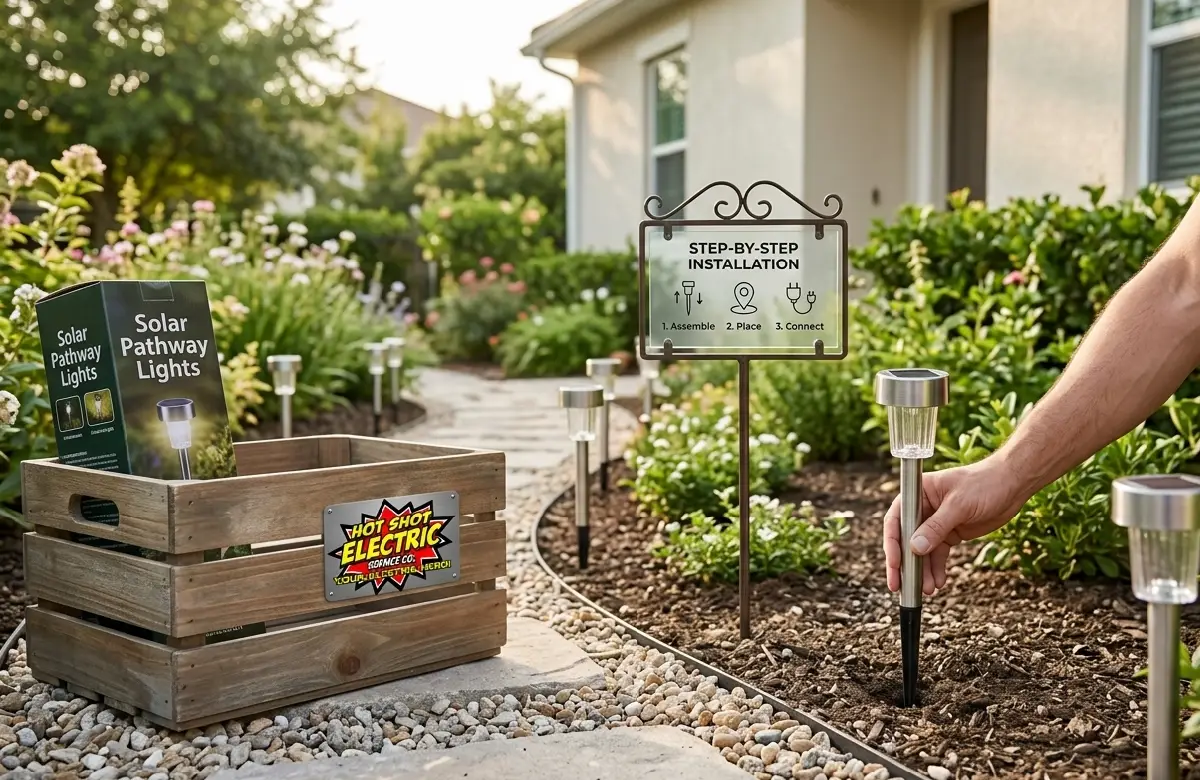
Step-by-Step: Solar Pathway Light Installation
Step 1: Pick Your Sunny Spot
Walk your yard at 10 AM and 2 PM. See where the sun hits hardest. Solar pathway lights need 6–8 hours of direct sun daily. Shady spots under trees won’t work. I’ve fixed dozens of dim setups in Florida neighborhoods—always a shade problem. Mark sunny spots with flags. Space them 6–8 feet apart along your path. Closer together looks better but costs more.
Step 2: Prep the Ground
Push the stake into soft soil by hand. If Broken Arrow clay gives you trouble, wet the area first. Use your mallet gently. Don’t smash the light head. Dig a small hole with your trowel if needed. The stake should go 4–6 inches deep. Make it straight. A crooked pathway lighting installation looks sloppy. I’ve seen homeowners skip this step. Then lights lean like drunks after one rainstorm.
Step 3: Assemble and Insert
Most solar lights come in two pieces. Snap the head onto the stake. Remove the plastic battery tab first—people forget this all the time. Then push the whole thing into your prepped hole. Press soil around the base firm. Check level. That’s one light down. Repeat for all. Easy right?
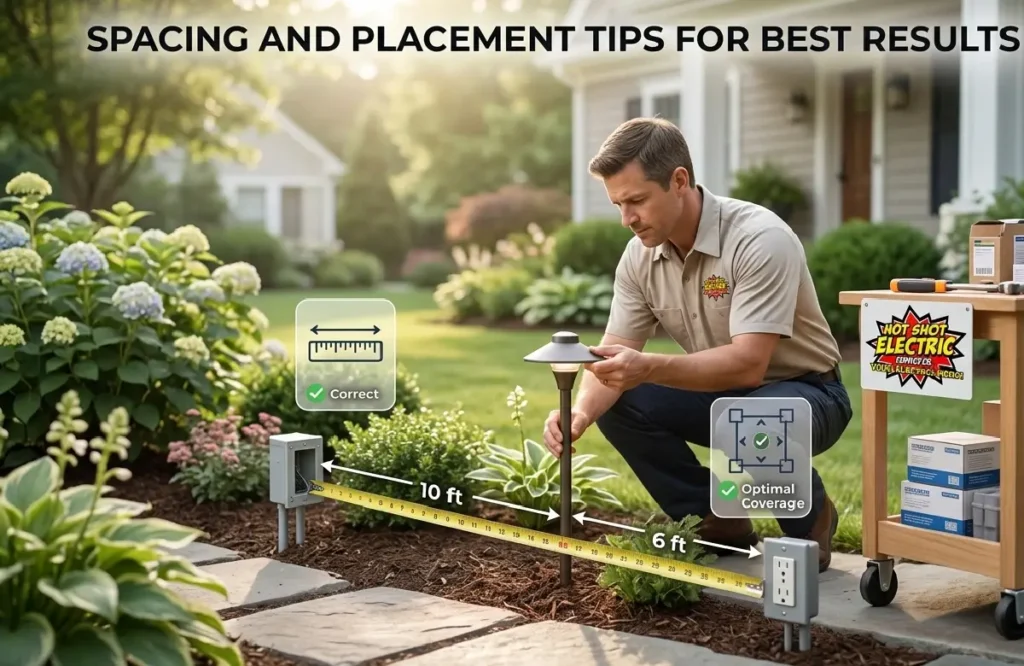
Spacing and Placement Tips for Best Results
Don’t just line them up like soldiers. Stagger lights on both sides of the walkway. This creates a zigzag effect. It looks more natural. For garden pathway lights near flower beds, place them behind plants. That hides the stakes. Let the glow shine through the leaves. Space closer on curves — 4 feet apart. Straight sections can go 8 feet. I’ve installed landscape lighting for Florida retirees who wanted “airport runway bright.” That’s overkill. Soft pools of light work better. Test your layout at dusk before finalizing. Move any that look wrong. The ground is forgiving.
Common Mistakes That Kill Solar Pathway Lights
Mistake #1: Ignoring the “on/off” switch. Many lights ship in “off” mode. Flip it to “on” before sunset. I’ve done this myself. Felt dumb.
Mistake #2: Installing in winter shade. Broken Arrow December sun sits low. That tree that’s bare now? It’ll leaf out in May and block everything. Plan for summer shade.
Mistake #3: Forgetting to clean panels. Dust and pollen kill charging. Wipe panels monthly with a damp cloth. Florida’s oak pollen is brutal—the same principle applies.
Mistake #4: Burying the panel. The solar cell must face up. I’ve seen people sink lights too deep. The panel ends up below grass level. Raise it up.
Avoid these, and your outdoor pathway lights will last years.
When to Call a Pro for Pathway Lighting Repair or Low Voltage
Solar lights fail eventually. Batteries die after 2–3 years. You can replace those yourself. But sometimes you want brighter, more reliable light. That’s when low voltage lighting installation makes sense. A real electric service in Broken Arrow can run outdoor lighting wiring underground. They’ll install a lighting transformer and bury cable 6 inches down. This costs more but works every night, rain or shine. Also call a pro for pathway lighting repair if you have existing wired lights that flicker or die. Don’t dig near old cables yourself. I’ve seen Florida homeowners hit live wires with shovels. Not fun. For new installs of wired systems, hire someone licensed. Solar? Do it yourself.
How to Maintain Your Solar Pathway Lights Year-Round
Check them every spring. Broken Arrow winters can freeze soil and push stakes up. Push them back down. Clean panels with glass cleaner. Replace rechargeable batteries every two years — use NiMH type. Store lights indoors during ice storms. Hail cracks the plastic lenses. In Florida’s hurricane season, people take theirs down too. Smart move. If a light stops working, swap its battery with a working one. That tells you if the light or battery died. Most often it’s the battery. A four-pack costs less than lunch. Cheap fix.
FAQ
Do solar pathway lights work in Broken Arrow winters?
Yes but shorter hours. Winter sun is weaker. Expect 4–5 hours of light instead of 8. Snow cover on panels kills charging. Brush snow off quickly. Florida winters are easier—no snow. But you’ll be fine.
How many solar pathway lights do I need for a 50-foot walkway?
Space them 6 feet apart. That’s about 8–9 lights total. For brighter results, use 5-foot spacing. That’s 10 lights. Buy a few extras. I always break one during install.
Can I install solar lights under trees?
Only if the tree drops leaves in winter. Deciduous trees are fine when bare. Evergreens? No. The shade blocks sun year-round. Move those lights to open areas.
What are the best solar pathway lights for Florida or Oklahoma heat?
Look for aluminum bodies and glass lenses. Plastic cracks in UV rays. Also check the IP rating—IP65 or higher handles rain. I’ve tested cheap plastic ones. They melt in August. Spend $20–30 per light for quality.
When should I call an electrician instead of using solar?
You want lights that turn on at dusk every single time. Or you need very bright output. Or your walkway sits in full shade. Or you’re adding outlets outside. That’s low voltage time. Search for “electric service Broken Arrow” to find licensed pros.
How deep do I bury electrical cable for low voltage lights?
Six inches minimum. Use PVC conduit in high-traffic areas. Never skip calling 811 before digging. In Florida, they mark lines for free. Same in Oklahoma. Don’t guess.
My solar light stays dim. What’s wrong?
Dirty panel, dead battery, or shade. Clean first. Replace battery second. Move light third. If none work, the LED will burn out. Trash it and buy new. Repair isn’t worth it.
Conclusion
You’ve got this. Installing solar pathway lights takes an afternoon. No outdoor lighting wiring. No voltage requirements to stress over. Just sun, stakes, and a little patience. Start with a few lights along your main walkway. See how you like them. Add more later if you want. I’ve helped dozens of homeowners in Broken Arrow and Florida make this switch. Almost none go back to dark paths. The safety alone is worth it—no more tripping on garden hoses or uneven steps.
For solar, DIY all the way. But if you decide you want hardwired landscape pathway lighting that runs every night without fail, call a pro. Find a licensed electric service in Broken Arrow. Ask about low voltage lighting installation. They’ll handle the transformer, trenching, and wiring. Get three quotes. Compare.